This cute little baby stars are super easy to make and they make great decoration. It's a great way to recycle used paper. I find that magazine paper is more sturdy than regular white paper. Stars made out of magazine paper end up being more colorful than a regular one plain colored paper. They look more interesting made with written paper or like I said magazine paper. It's very important that the paper you use is not to tough because it might break when you pull it to form the star. So, without further ado here is the tutorial part:
What you need:
1. Strip of paper: 1.5cm X 23cm
2. Ruler
3. Scissors
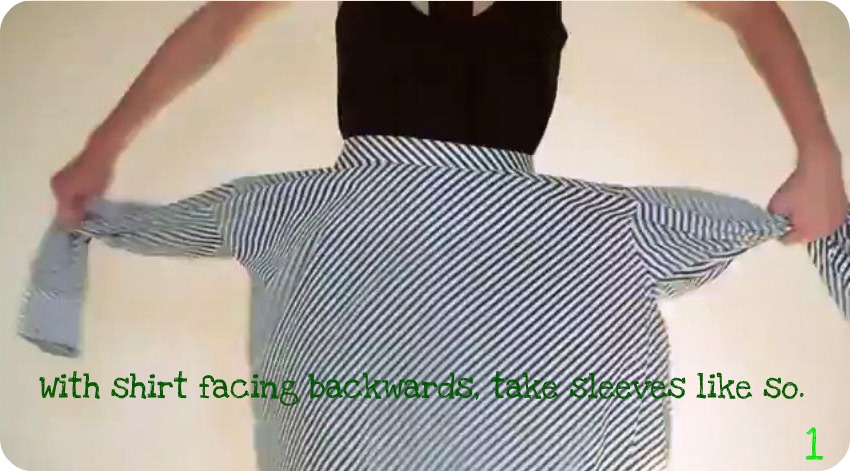
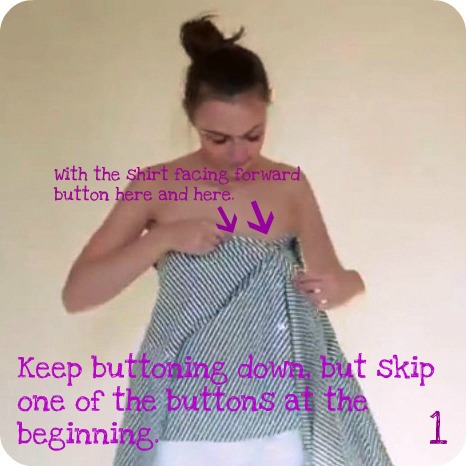
Directions:
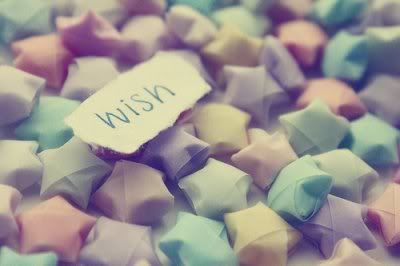
And that's it. Easy right! At first it may be a little difficult to achieve a proportioned star. I had to do it like 3 times before I could get it right. Practice makes perfect. After you make one, you will want to be making more and more. They are fun too make. You can make them any size you want, just play with it. If you want a bigger star, the strip needs to be wider and longer. You can write a wish on each star and place them in a jar. It makes a cute decoration item for your room. Simple and cute. Here is a picture of my wishing jar:


I even made a ribbon star (the white star on the left), it's basically the same steps the only difference is that you need to sew (pulling inwards) between the points of the pentagon so that it forms a star, otherwise it will be a pentagon. You can also fill it a little bit with plush fluff before you tuck the end into the inside flap (step 7). And I also sew all around the star so it will maintain it's shape. For this star I used a white satin ribbon I had laying around.